
Comparing tile estimates and timelines in Central Florida
Build a scope that accounts for materials, site work, and use restrictions.
Read this post →Published on | By the Aesthetic Tile Team
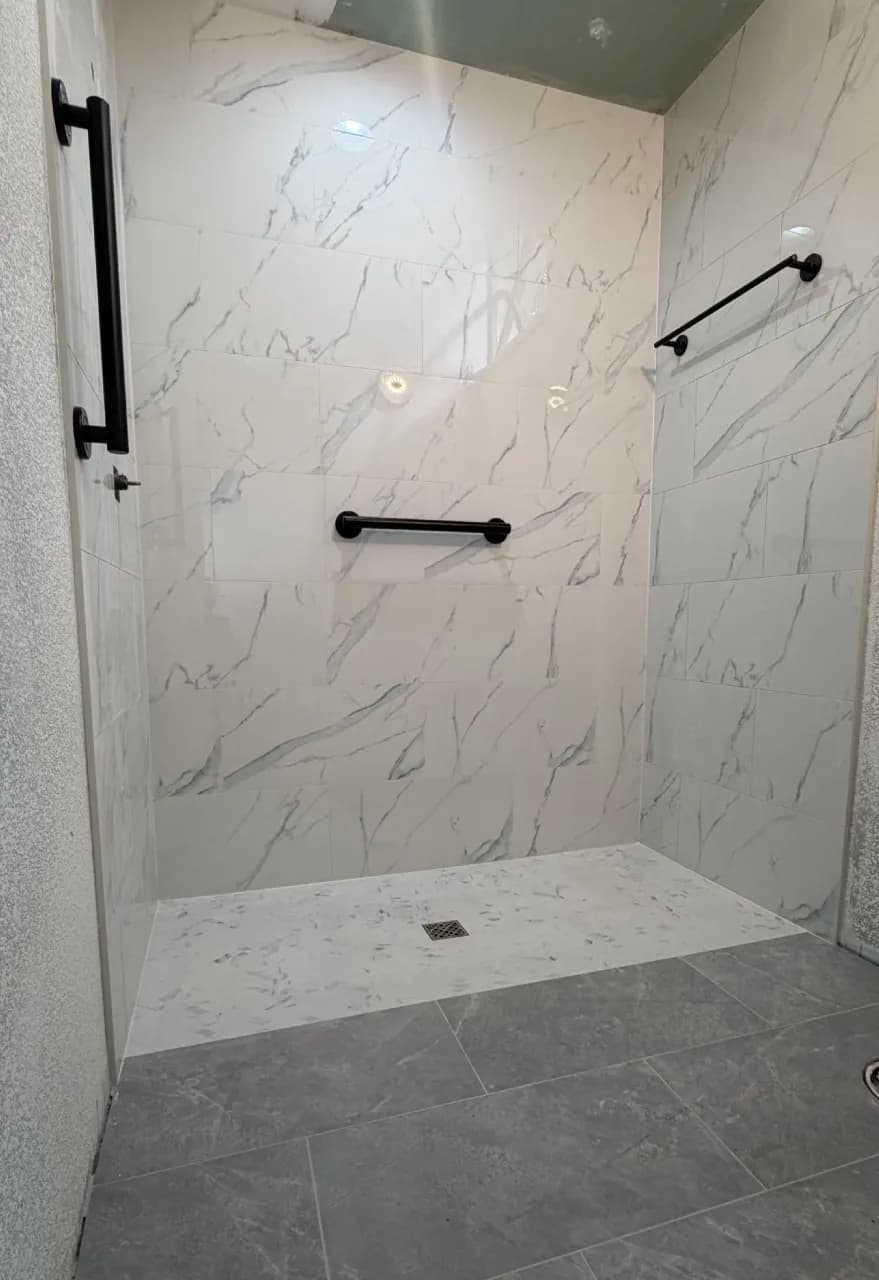
During a shower remodel, you may walk past the bathroom on a weekday and find nobody in it. The membrane is up, the tile is stacked in the hall, and the crew is somewhere else. That pause may reflect a required waiting period or a water test—not a scheduling problem. The next step depends on the selected system.
A shower schedule has to account for all of that: installation, product waiting periods, testing, and the date you can actually use it. Those are different milestones. A membrane may be ready for tile while the project still needs a water test, and a finished grout joint may still need protection from water.
If this is your only shower, the gap between “the tile is done” and “you can use it” affects the whole household. Discuss the installation sequence and when the selected products allow a return to use. Our tile estimate and timeline comparison covers the wider estimate; here we look at the shower-specific questions.
The contractor needs a plan for the shower assembly: its substrate, drainage, waterproofing, connections, and finished surfaces. The details depend on the selected system and the room. A finished photograph cannot show whether those concealed details were installed and tested correctly.
Ask which parts of the existing shower will be removed, what can be checked before demolition, and how unexpected damage will be handled. Confirm the drain location and style, entry design, niche placement, and any backing needed for planned accessories before that work is covered.
Our bathroom and shower installation page can help you identify the scope you want to discuss. If you are changing to a curbless entry, raise that at the start; it belongs in the assembly and drainage plan.
Aesthetic Tile’s preferred shower approach uses GoBoard walls and seam treatment, a site-built pan with FloFX membrane and drain components, and ARDEX mortar and grout. Wedi is available when requested. The assembly and timing are reviewed for the specific room and selected products; curbless and steam designs need their own requirements checked. Our Signature Showers package adds design time and bespoke finishing details to that planning process.
The following Schluter examples explain manufacturer-specific timing. They do not describe Aesthetic Tile’s preferred GoBoard, FloFX, and ARDEX approach or set its installation schedule.
Schluter’s KERDI guidance says tiling can begin once the membrane, seams, corners, and penetrations are fully bonded and waterproofed. It separately directs a 24-hour wait after membrane installation before water testing, which it recommends before tile.
The first clock is the wait before testing; the second is the test duration. Schluter’s water-test FAQ describes a typical test period of 24 hours, started no sooner than 24 hours after installation under normal room-temperature curing conditions. Cooler conditions call for more waiting. Confirm the procedure and duration required for the actual project with the installer and any applicable inspection authority.
For an illustrative schedule, suppose the specified membrane work is complete at 3 p.m. on Monday, conditions permit the 24-hour wait, and the project calls for a 24-hour test. The test would start no earlier than 3 p.m. Tuesday and finish no earlier than 3 p.m. Wednesday. That example ends at test completion. It does not include tile setting, grout, glass, or first shower use.
This is an explanation of one manufacturer’s system. It is not a generic timetable for liquid membranes, foam boards, traditional shower pans, or every product carrying the KERDI name. The system specified for your project sets the requirements.
Aesthetic Tile tests every shower for leaks before installing tile: a full flood test for curbed showers and a flush flood test for curbless showers. Clients receive photos and documentation during the work.
A flood test checks the shower base and waterproofed seams and connections below the test waterline before tile covers them. It does not test wall waterproofing above that line. Schluter describes plugging the waste line, filling the base, marking the water level, and monitoring it for the required period. The installer should document the result and investigate a suspected loss rather than simply proceeding with tile.
A useful test record identifies the system, installation-completion time, test start and finish, result, and any corrective work. If an inspection is required, include that milestone too. A test is a useful quality-control record; it does not replace correct installation or establish a lifetime performance guarantee.
The next wait depends on the actual setting product. For example, Schluter ALL-SET instructions specify at least 12 hours at 70°F before grouting and at least 24 hours of protection from traffic and water exposure. Lower temperatures may extend curing. Those are mortar instructions, not a complete shower handover schedule.
The chosen grout, sealant, and any other applicable products may impose additional restrictions. Ask the installer to name those products and state when water exposure is allowed for the completed assembly. A quick-setting mortar does not automatically shorten the requirements for everything installed after it.
On smaller screens, scroll sideways to read every column. Keyboard: Tab to the table, then use the Left and Right Arrow keys.
| Milestone | What to confirm | Time category |
|---|---|---|
| Materials and design ready | Tile, drain, trim, layout, and other required parts are confirmed. | Planning and delivery |
| Removal and preparation | The exposed conditions are assessed and the required work is agreed. | Site work; possible added scope |
| Waterproofing complete | The specified assembly and its connections are ready for the next step. | Site work followed by product-dependent waiting |
| Water test and inspection | Start, duration, result, and any required inspection are recorded. | Testing and scheduling |
| Tile, grout, and finishing | Each product’s timing and the sequence of remaining trades are followed. | Site work plus curing |
| Return to use | Confirm when the selected products allow normal shower use and review the care instructions. | Handover after applicable requirements are met |
Aesthetic Tile provides a cleaning and maintenance brochure tailored to the completed work. Keep it with the product list and test record. These records are more useful than trying to reconstruct the installation from finished photos later.
On a waiting day, you should know which product is curing or which test is underway. Ask the installer to connect that pause to the next milestone.
Contact Aesthetic Tile with photos of your existing shower, your proposed changes, and any deadline. Read the tile estimate and timeline comparison to prepare the wider scope, then use our material comparison to discuss the finish and its care before ordering.

Tell us about your room, the materials you have in mind, and the questions you want to discuss.